Replacement Chassis - Cradock's (£290)
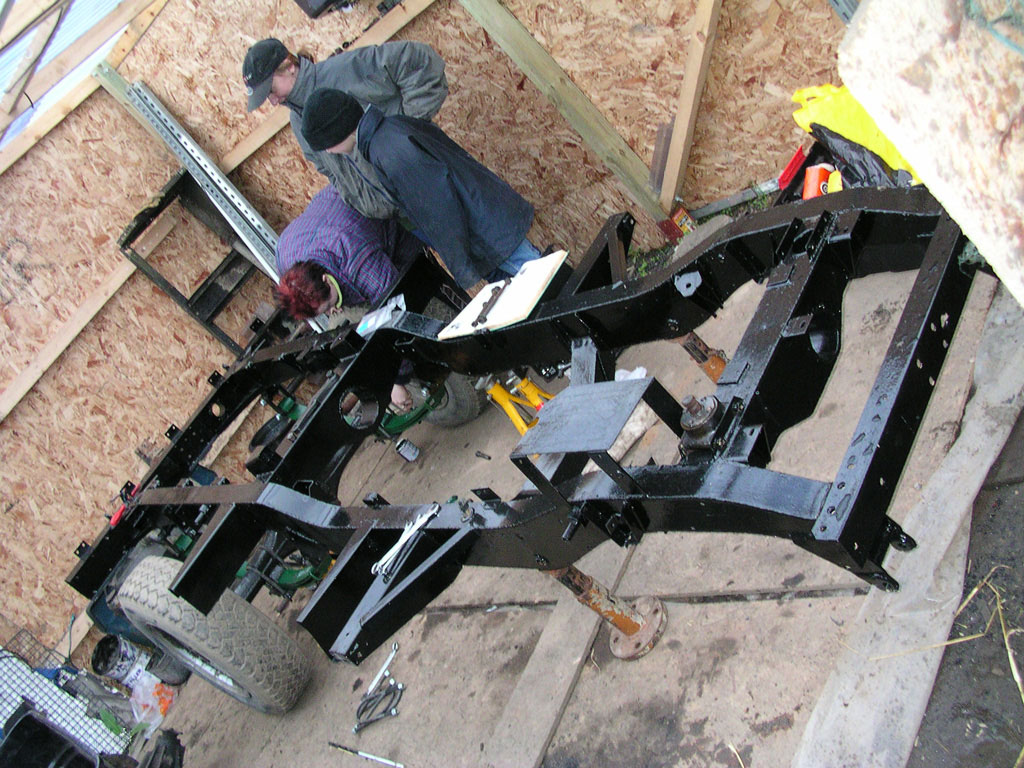
Hammerite - B&Q (£20)
£300
Spanners, socket set, blowtorch, scrapers, wire brush, power drill with various abrasive attachments, paint brushes.

This chassis had once formed part of a lightweight that had been based in Cyprus. The Cypriote climate had kept the chassis 99% free of rust, the only exceptions being on the rear cross member where water had got behind the spreader plate and on the rear cross member outrigger where some of the bitumen had peeled away allowing water to sit in the pocket and corrode away a hole.
Both of these minor areas were well plated over.
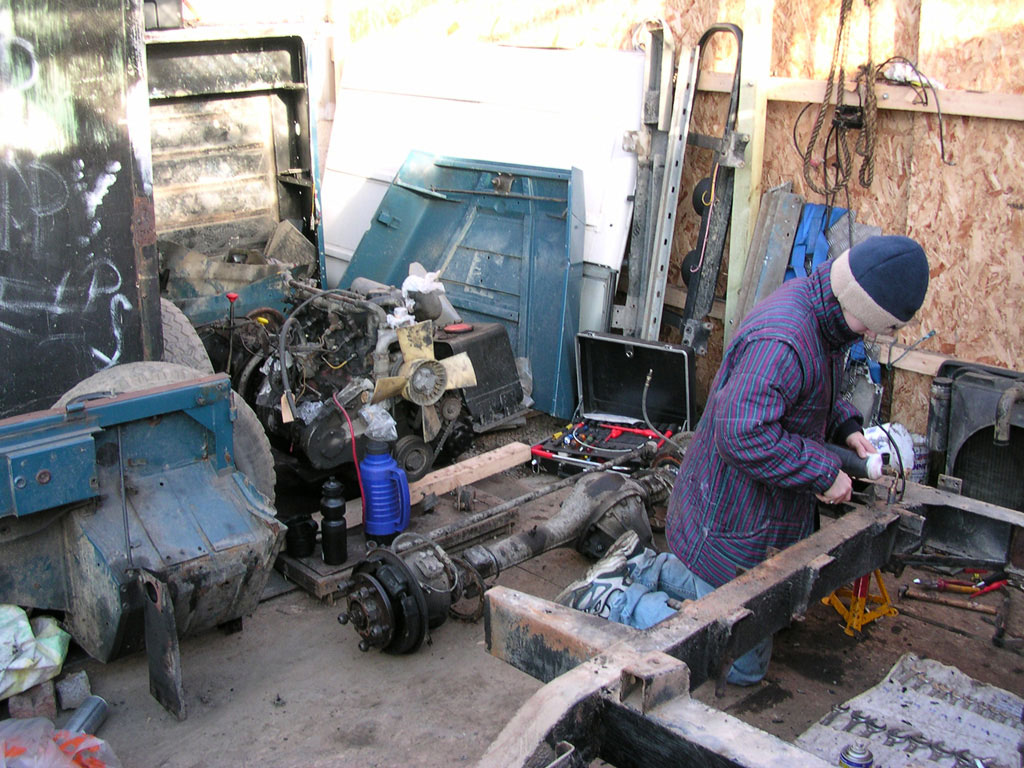
It's amazing to see how much room all the parts of a Landy take up when disassembled!
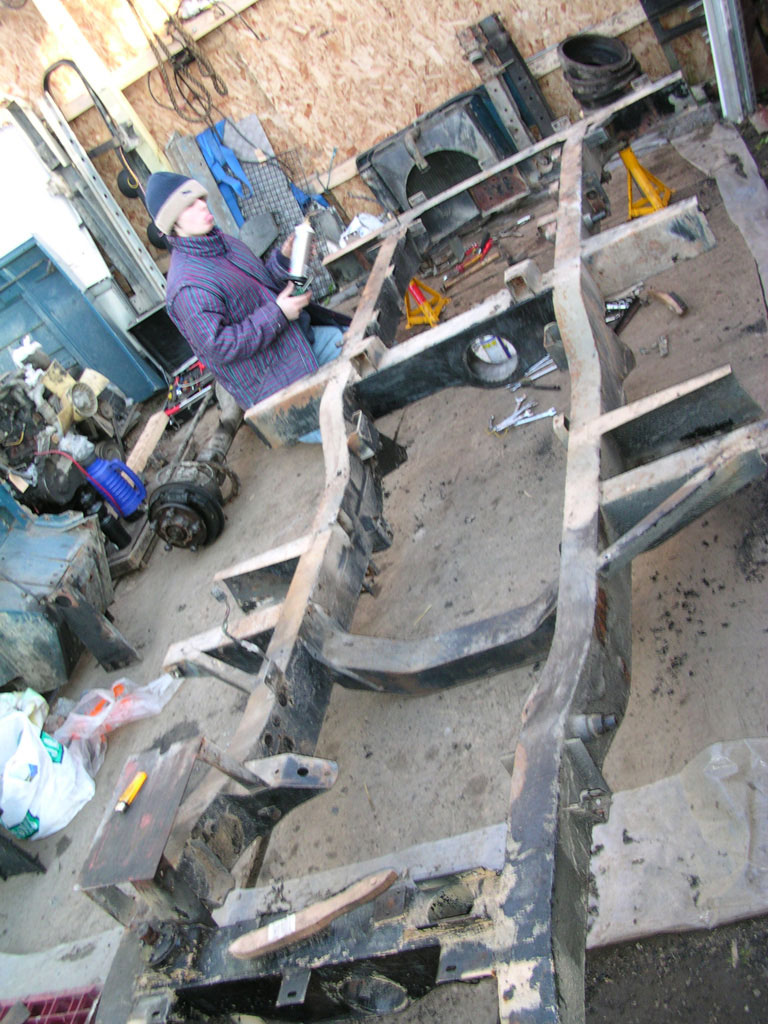
Work then started on cleaning up the chassis (proved useful to get my girlfriend Diane to help out on this part)
A better method of removing the bitumen would have been to use a grit blaster but I am limited to the power tools I can use because I only have a small portable generator to supply my power, the alternative used was blow torch, various scrapers and plenty of elbow grease!
With the majority of the bitumen removed I then switched to wire brush attachments and various other abrasive attachments in my power drill to remove the old paint and any remaining tar.
Note the use of woolly hat and heavy clothes, its now middle of winter and there's no heat in the workshop - bloody freezing!
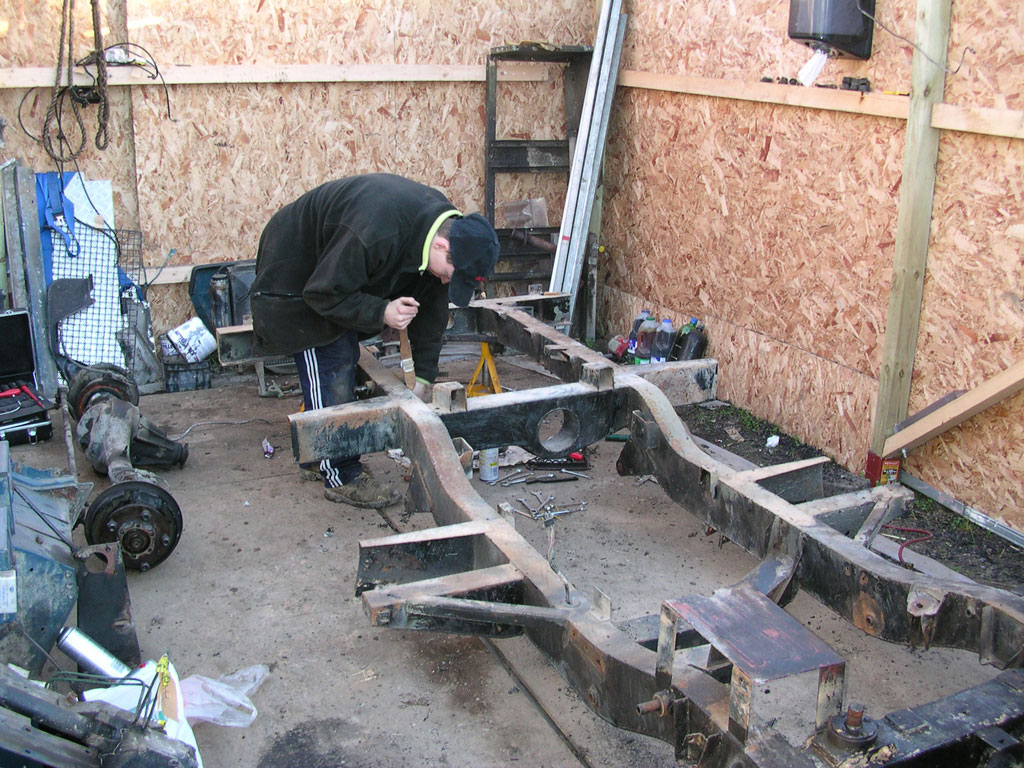
Also before painting i cut away the Offside engine mount in preparation for a new mount to enable me to reinstall the 2.5D engine. This would be installed at a later date by a proper welder.