Steel sheet, Bent foot wells - Lilleker Engineering (£60)
Angle Iron etc - B&Q (£25)
Hinge Repair Panels - John Craddock (£70)
Wing Assembly and Light Boxes - John Craddock (£195)
£350 (approx)
Mig welder, angle grinder, drill, jigsaw, clamps
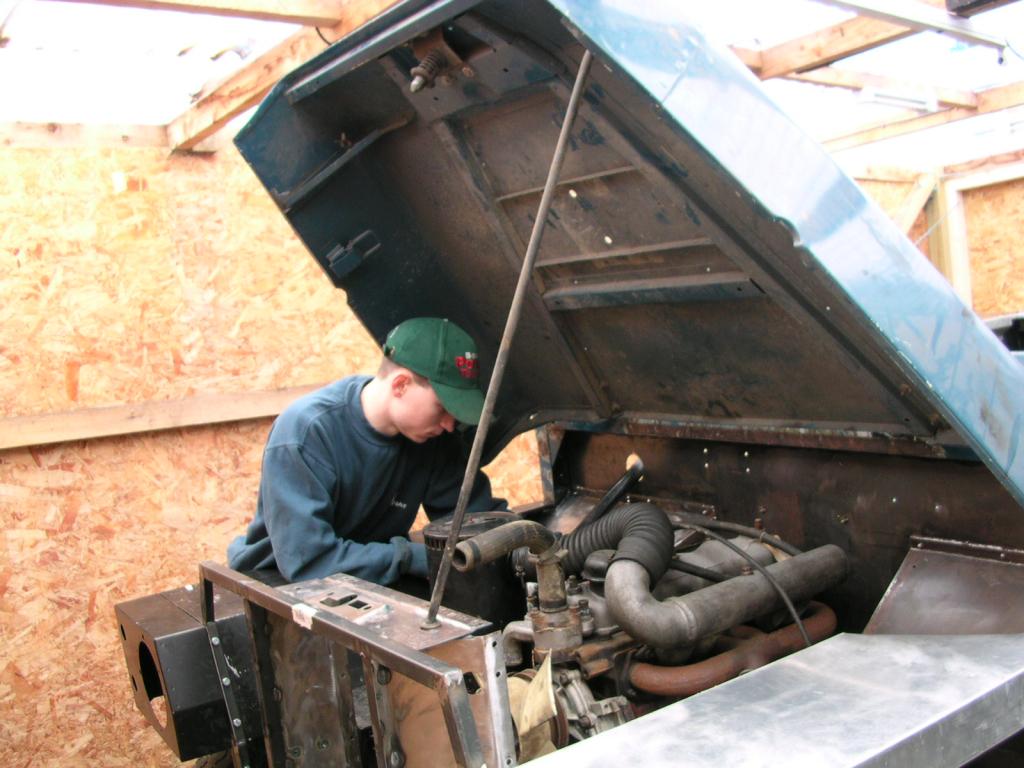
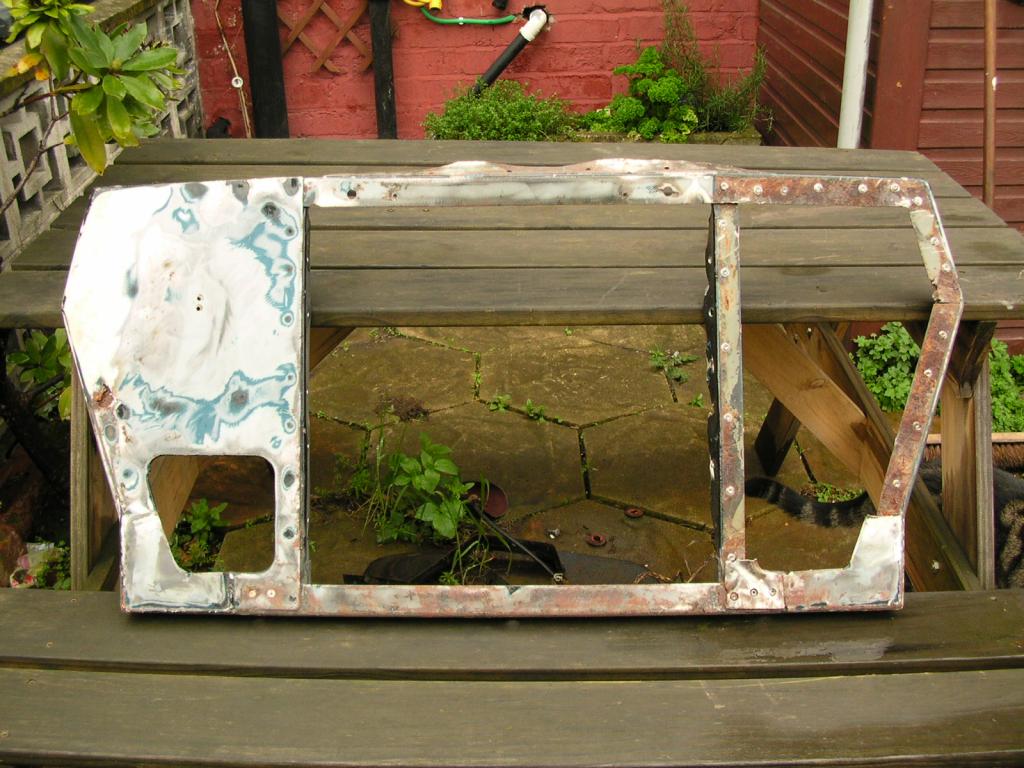
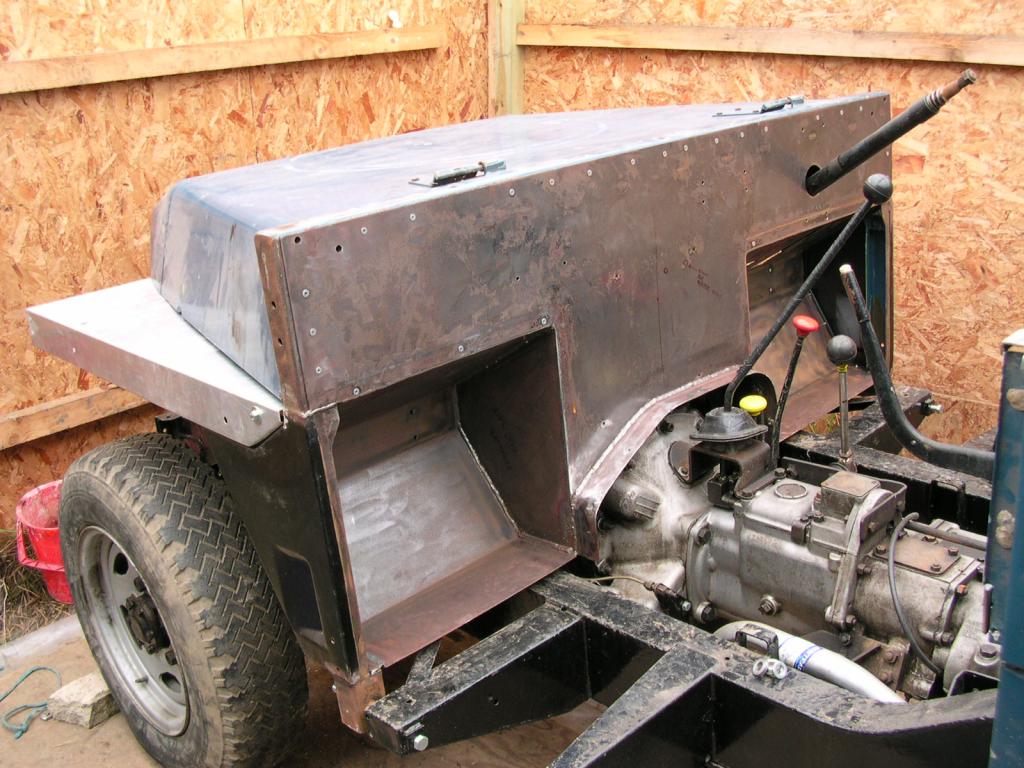
I decided to reuse the old frame which was rot free and rebuild the bulkhead sheet sections. This meant drilling out the spot welds holding the sheet steel sections to the frame and grinding through the remaining tack welds. . .
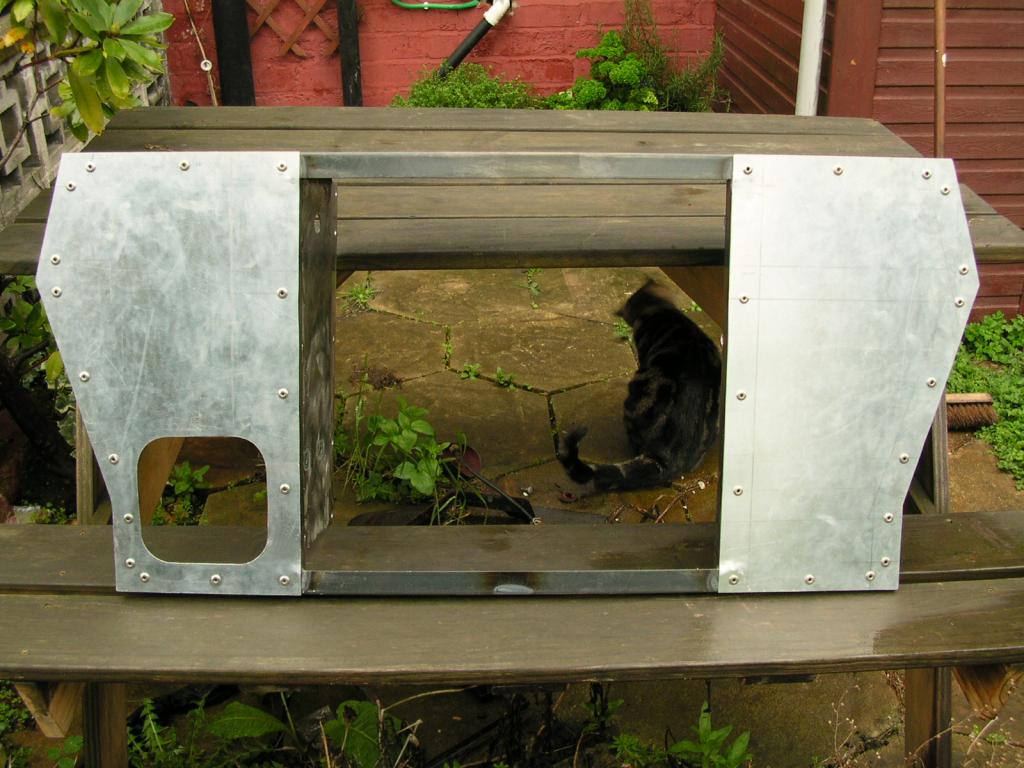
Once the old bulkhead was stripped down to the frame (which was straightened) I purchased two hinge replacement panels from Cradock's. I then used these plates to form the profiles of the foot wells which were bent by a local fabricator for a few quid.
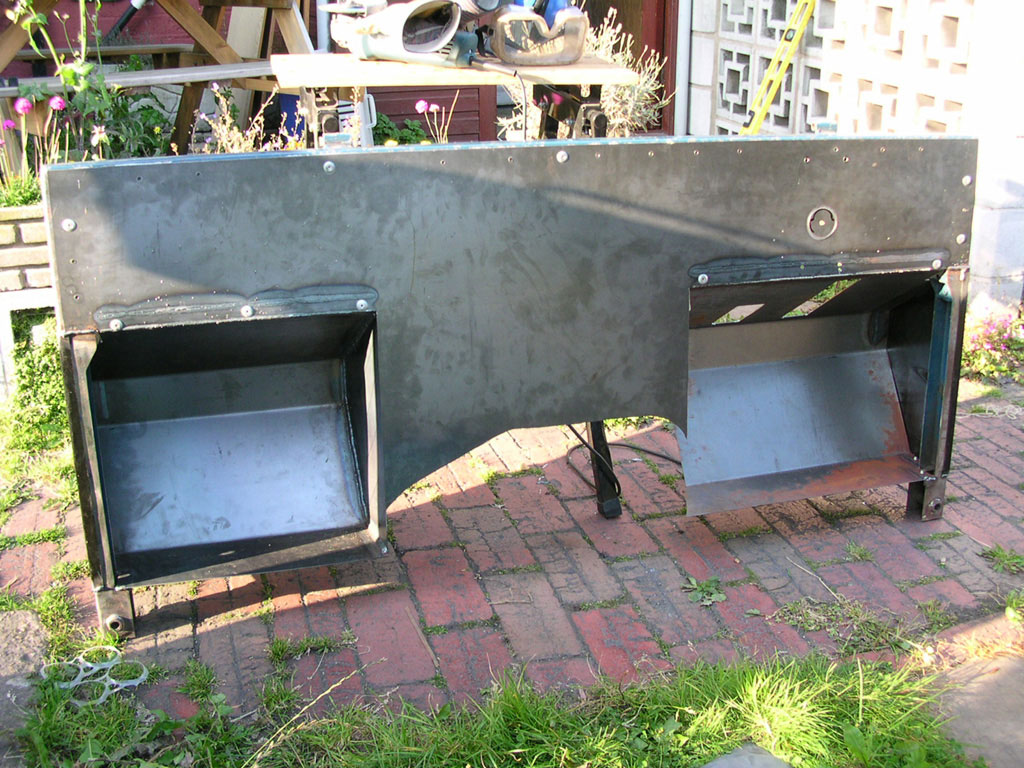
Next I cut out the large piece of sheet that fits between the foot wells. The original was a two piece design that I didn't like so I made one large section. . .
Welded on the rounded horizontal bit over the gearbox.
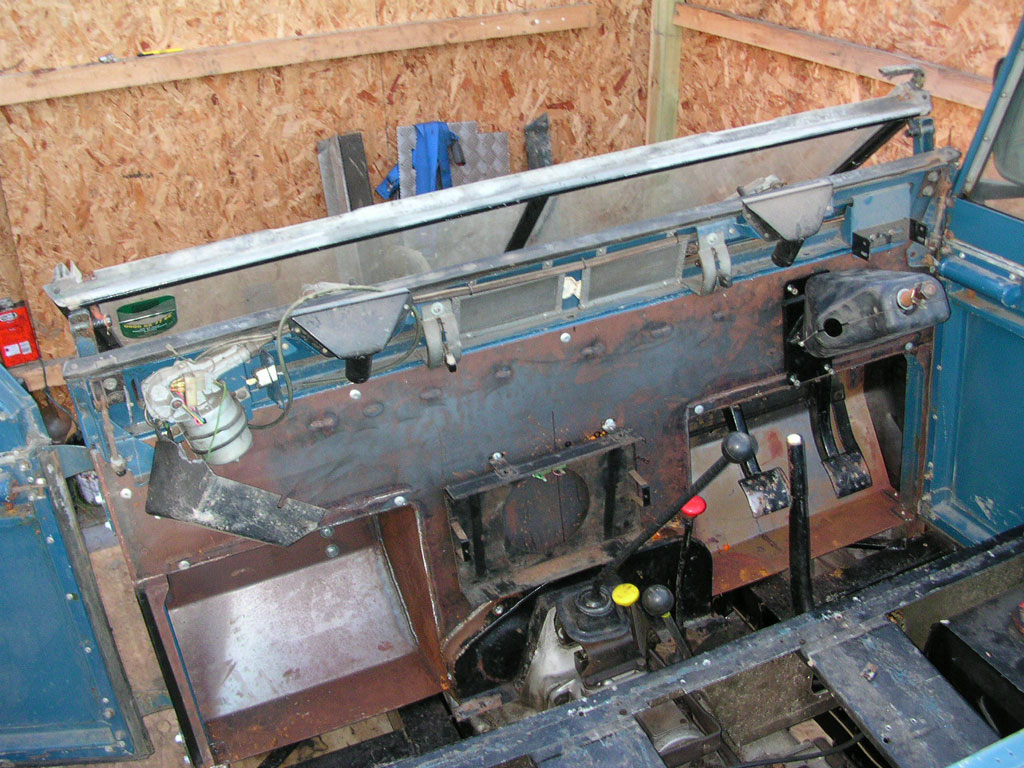
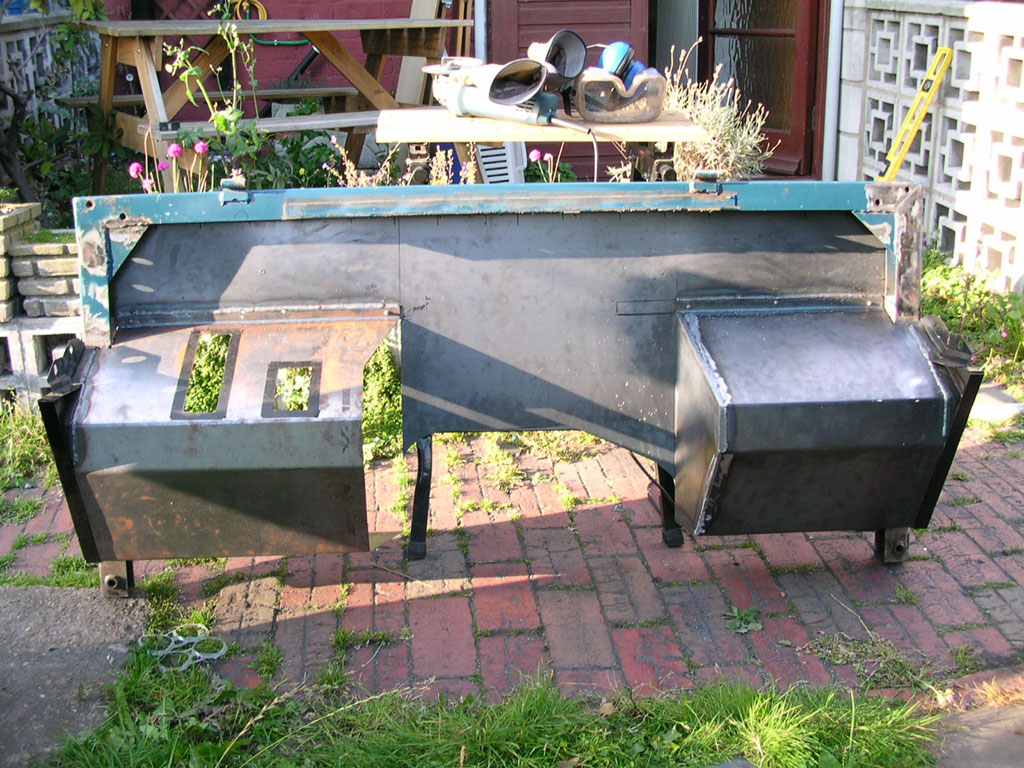
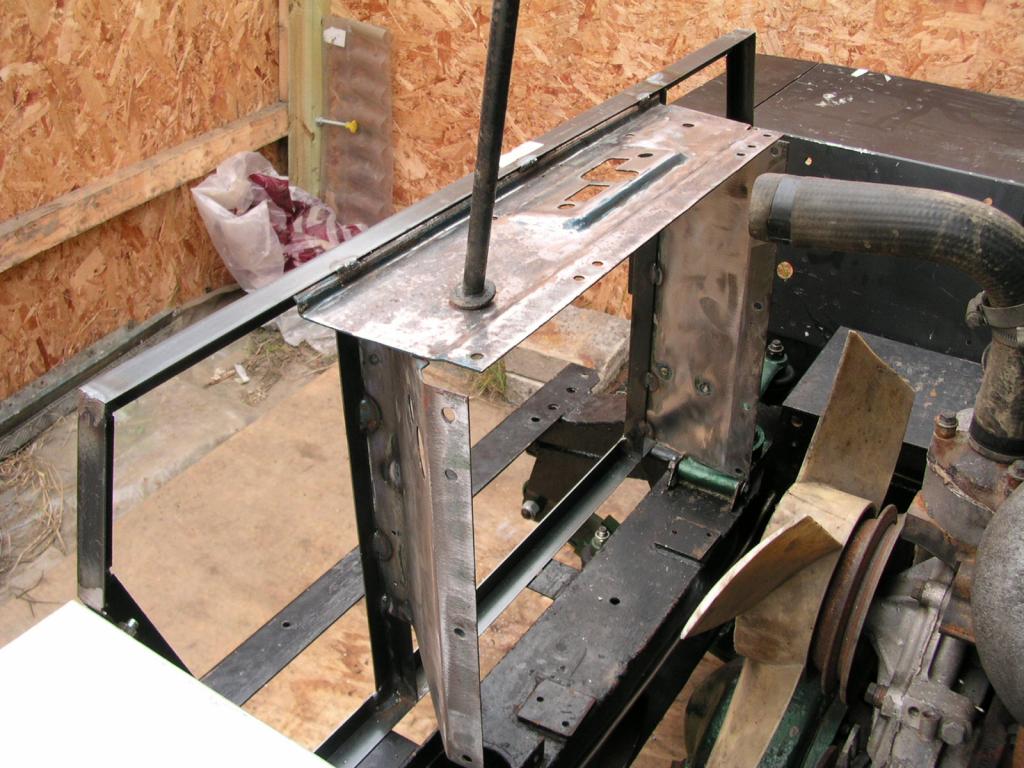
Outrigger holes were out by about 10mm, so I needed to cut away the weld at the bottom of the pillars and widen the distance between the pillars 5mm on each side, good job I had only tacked them in place.
"Measure twice - Cut once" springs to mind!
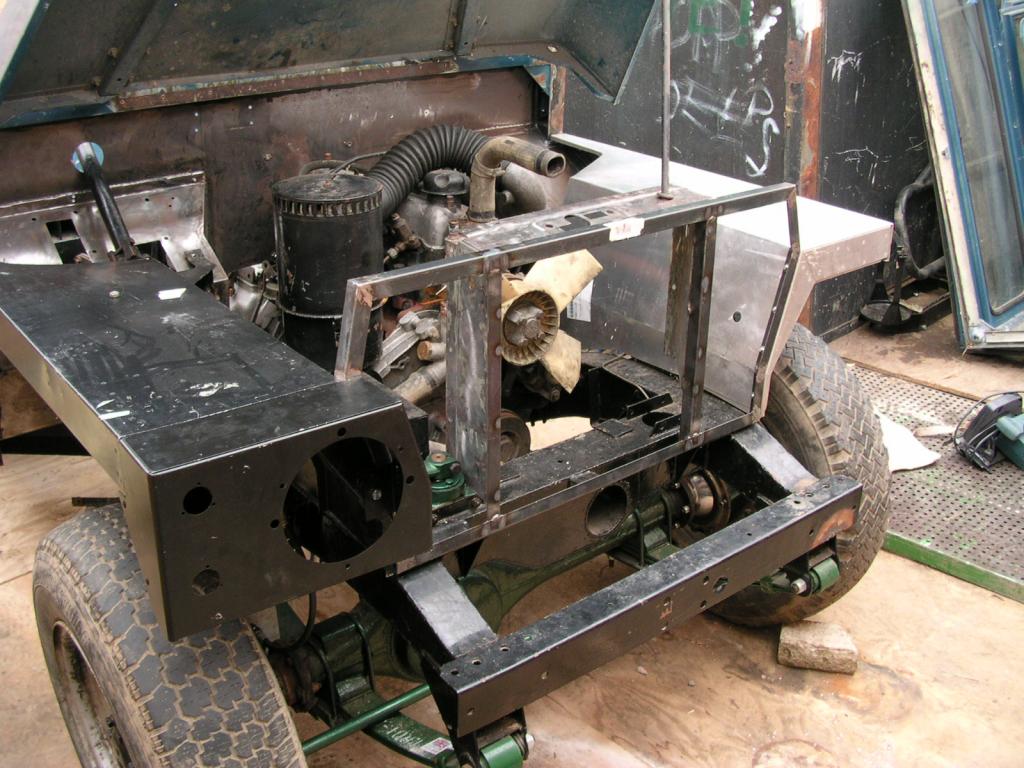
You may have noticed but there's no box to house the dash board and wiring. this is because I'm going to make a Dash/instrument panel that sits out and faces up at the driver for better viewing of the dials

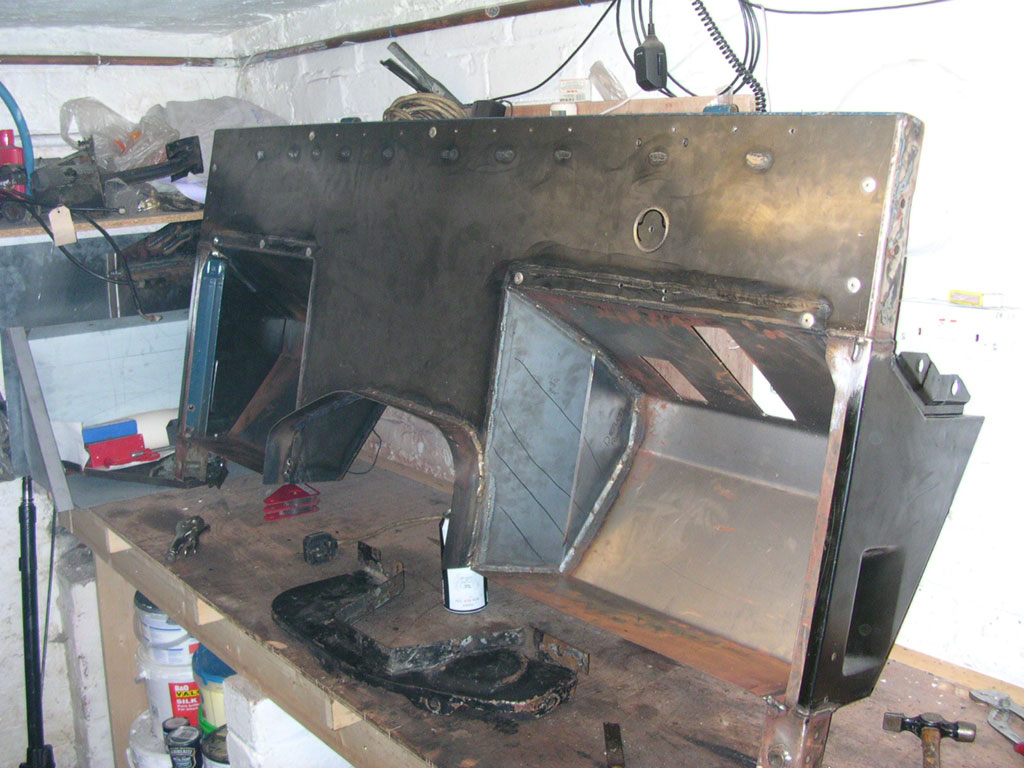
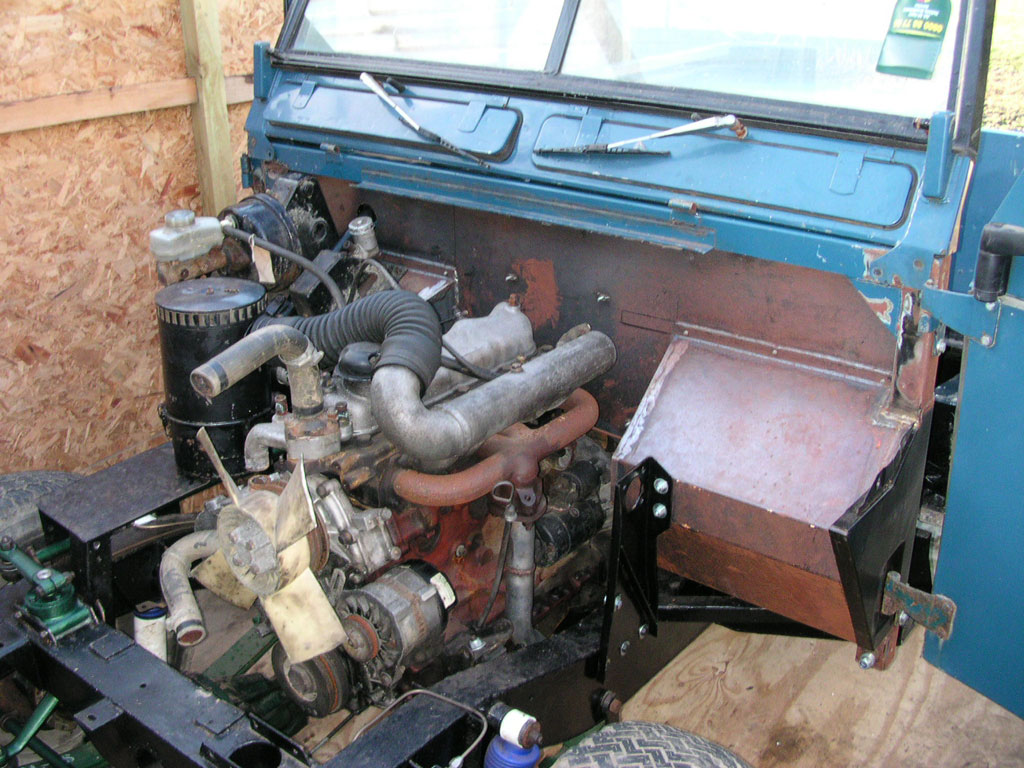
Need to get all the accessories fitted, holes drilled and then get it removed and sprayed before it starts rusting away, this picture was taken three days after it made the transition from my cellar to the workshop and you can see the damp air is already having a go at the metal.
Now need to dismantle the lot and make good the tack welds and re-weld the pillars as required.
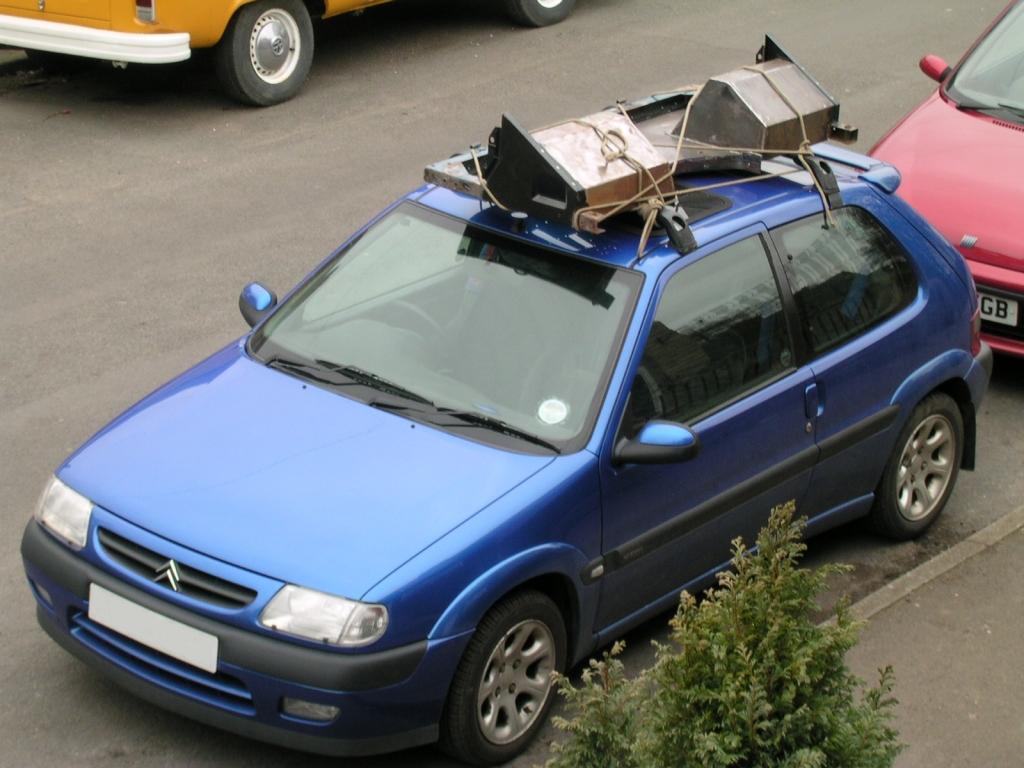
Yes, I know my everyday car is a "Boy racer" effort that doesn't fit in with the Land Rover persona, but its been bloody useful during the rebuild and until now its never let me down. Its been neglected recently though due to decorating the house and doing the rebuild and needs some money spending on new tyres, clutch, CV joint and a load of other expensive bits which i won't be attempting myself.
With one panel removed I found that rust had eaten away at the frame which is why I decided to make a new one.
I made the Radiator panel out of angle iron, using the original as a template. The original frame was well corroded and a full new assembly would have cost about £200.
Once I'd made up the outer frame, I separated the radiator support housing from the old frame, cleaned it up and welded it to the frame.
I decided to only cut one access point to enable the steering relay to be adjusted rather than a hole on each side of the radiator, and I may make up some sort of cover to keep the mud out.
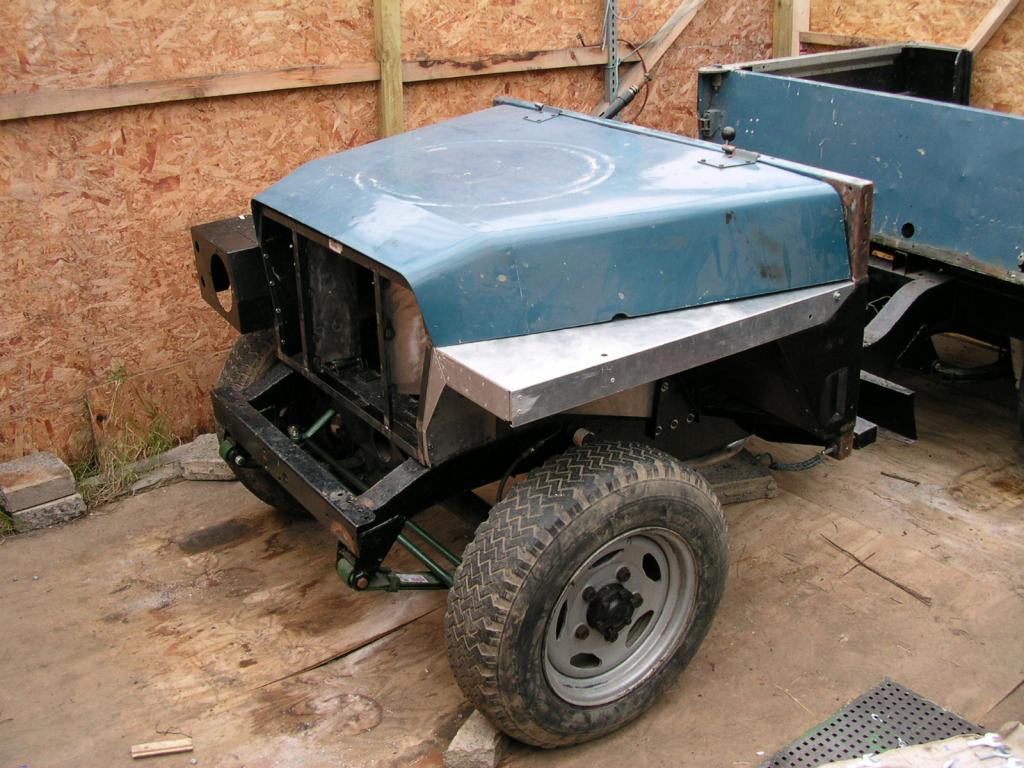
Took the bulkhead plus the new wings and my re-fabricated radiator panel (minus front sheets) back for a second fit before I set about spraying them.
Everything fits together well apart from the passenger side wing which needs a bit of a trim to get it flat to the hinge panel.
The wings are different colours as the drivers side is an original part which fit perfectly! And the passenger side is a pattern part which didn't fit as good and was no where near as well constructed.
For some reason no one seems to have any passenger side originals left only the drivers side!
Rather than using one length of angle and folding it to the right shape I opted to cut the frame segments and weld them together giving me more angled corners, I think its better constructed then the original.
Just need to teach myself how to spray now!