Steel Aluminium, Bent sections- Lilleker Engineering (£140)
£140 (approx)
drill, jigsaw, tin snips, spot weld cutter, clamps
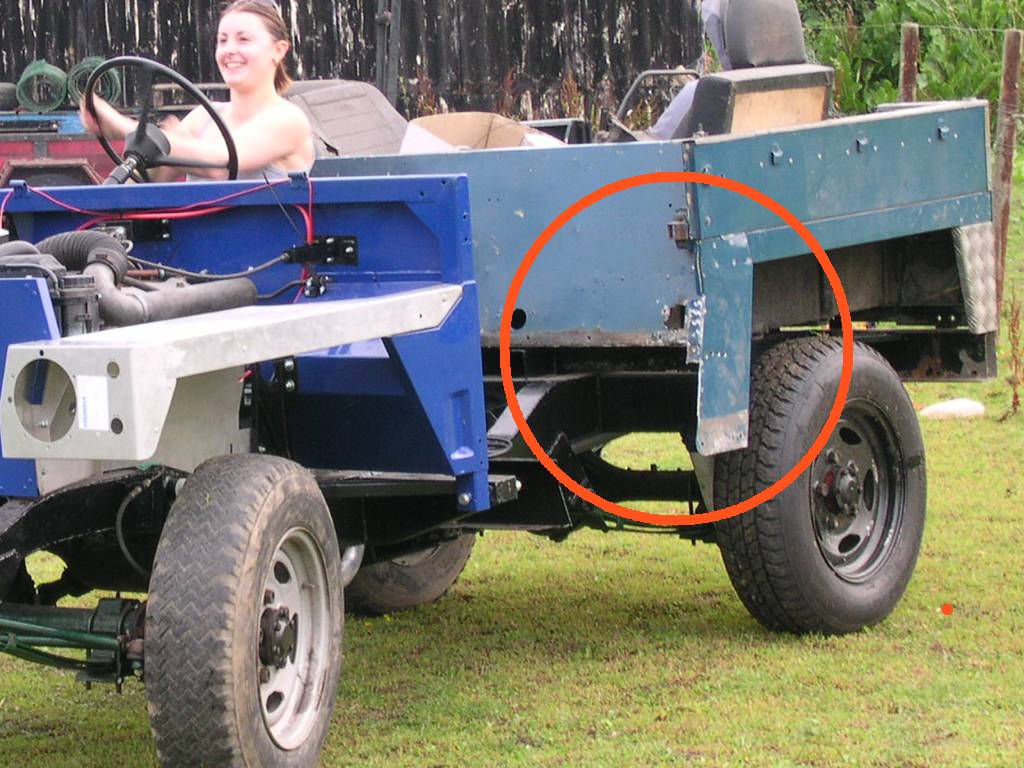
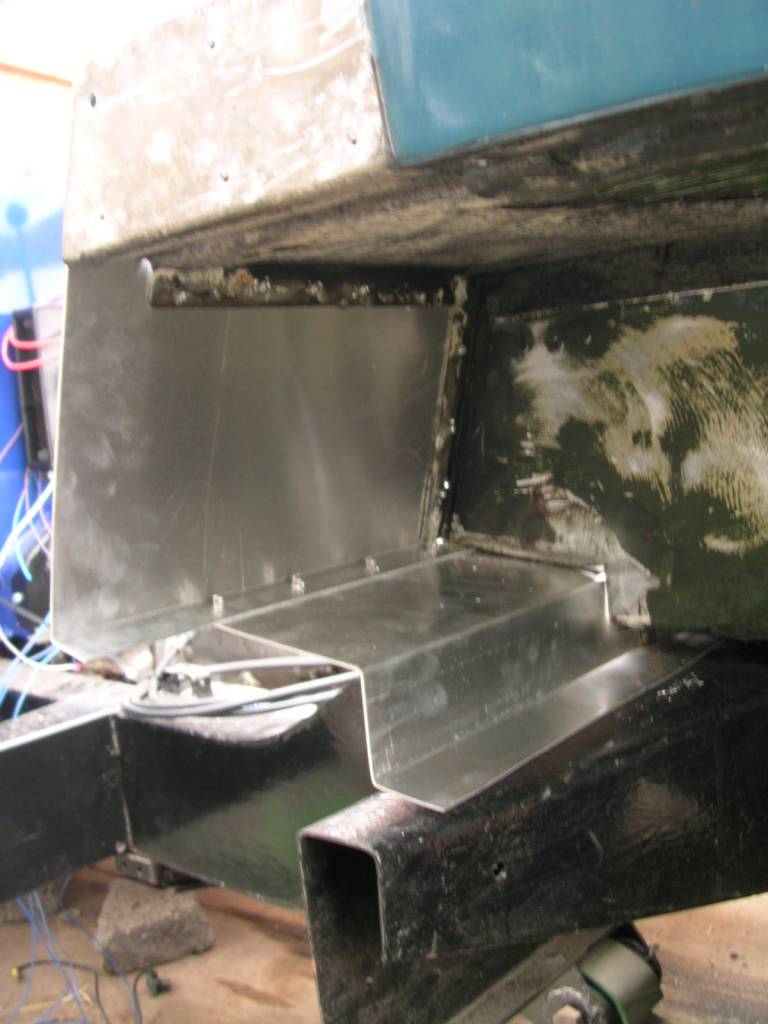
The rear tub is particularly damaged by corrosion caused by the meeting of the steel bolts on the aluminium panels.
This picture shows some of the damage, the lower seatbelt fixing point had corroded completely through the rear bulkhead, and the vertical panel that meets the seat box had also corroded away the mounting tab halfway up.
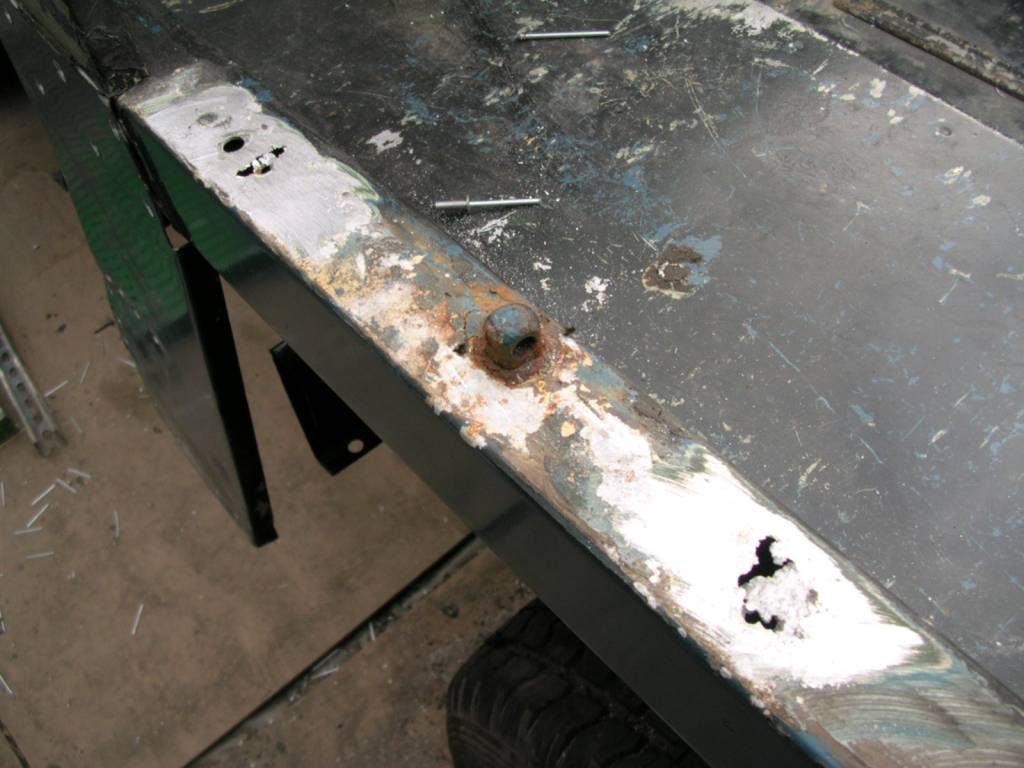
This had been caused by the rear tie down points plus the bolts through the aluminium.
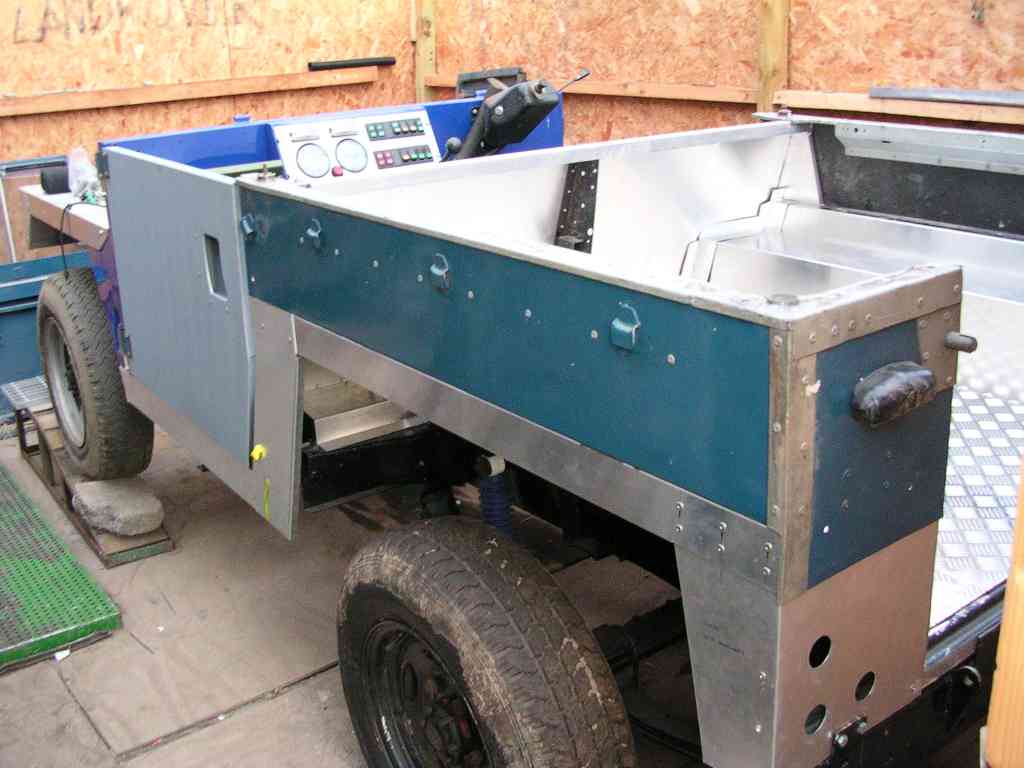
There wont be much of the original rear tub left soon!
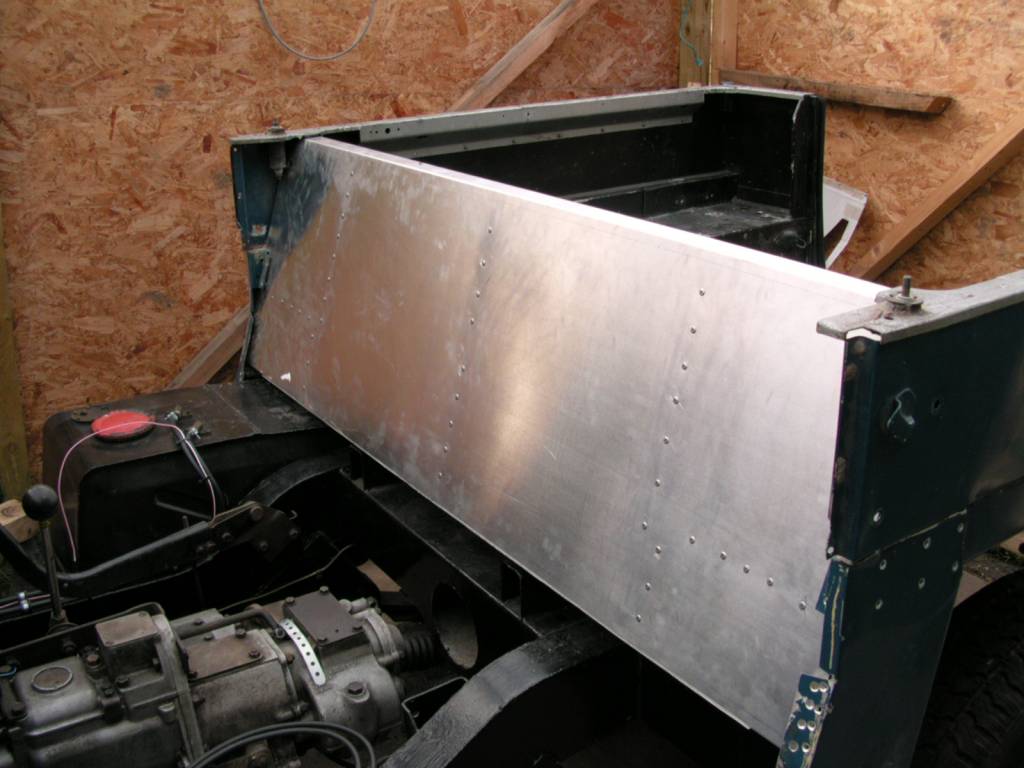
After removing the old one I took it to Lillekar Engineering and had them fold me some new sections.
Although Aluminium is soft and easy to bend by hand its hard to get a nice tight bend without some kind of bending machine, I didn't have anything large enough to bend sheets of this length, so I had it done by the experts, although I will be doing the smaller more difficult panels myself.
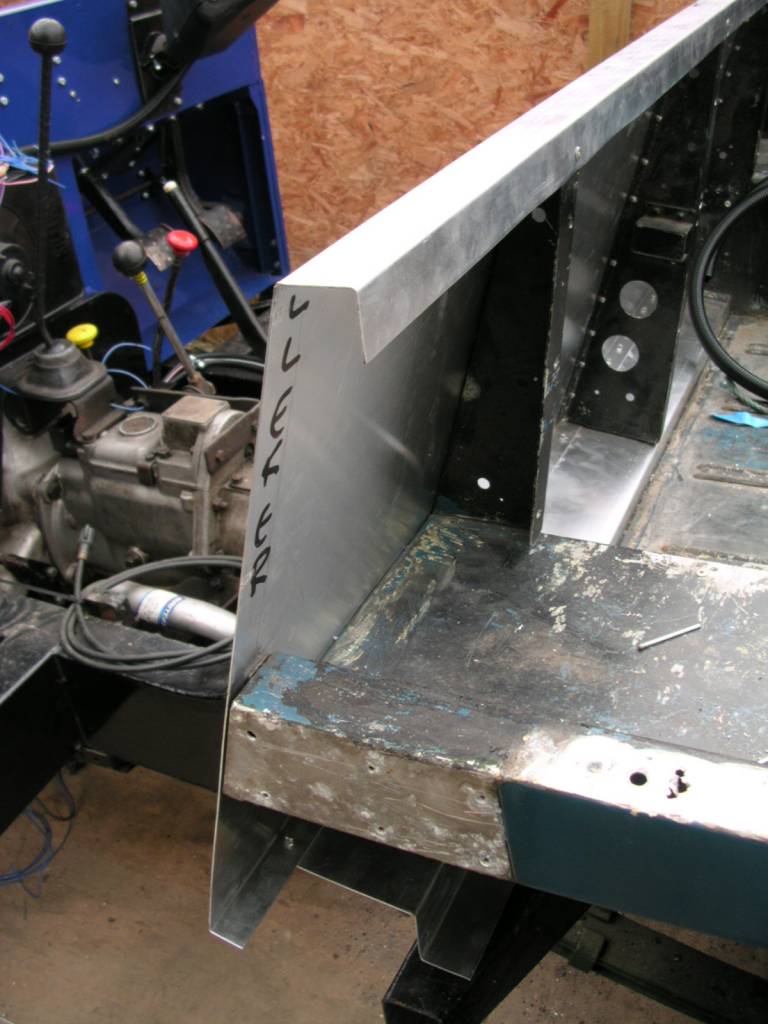
Once you have taken the old panels off you realise how over complicated the old panels were especially in the front of the rear wheel arch. I think this was done to strengthen the seatbelt mounting points. I'm planning to make up some mounts that extend out to the rear fuel tank outriggers rather than relying on the aluminium tub alone for seat belt mounting points.
I've secured it with pop rivets rather than spot welds as I've not got a spot welder or the various arms i would need to successfully spot weld some of the more difficult areas.
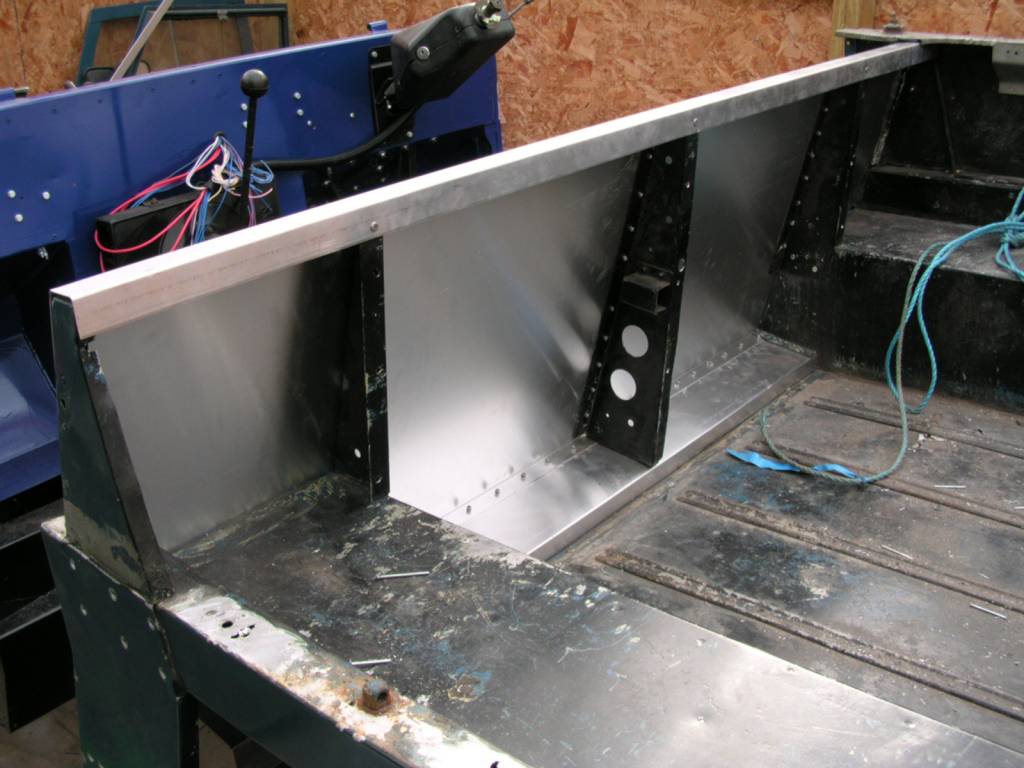
I've re-used the old strengthening sections as they were still in good shape.
Need to add some more strengthening horizontally where the front door locks mount through the bulkhead. Again, I will re-use the originals once I've removed them from the old bulkhead.

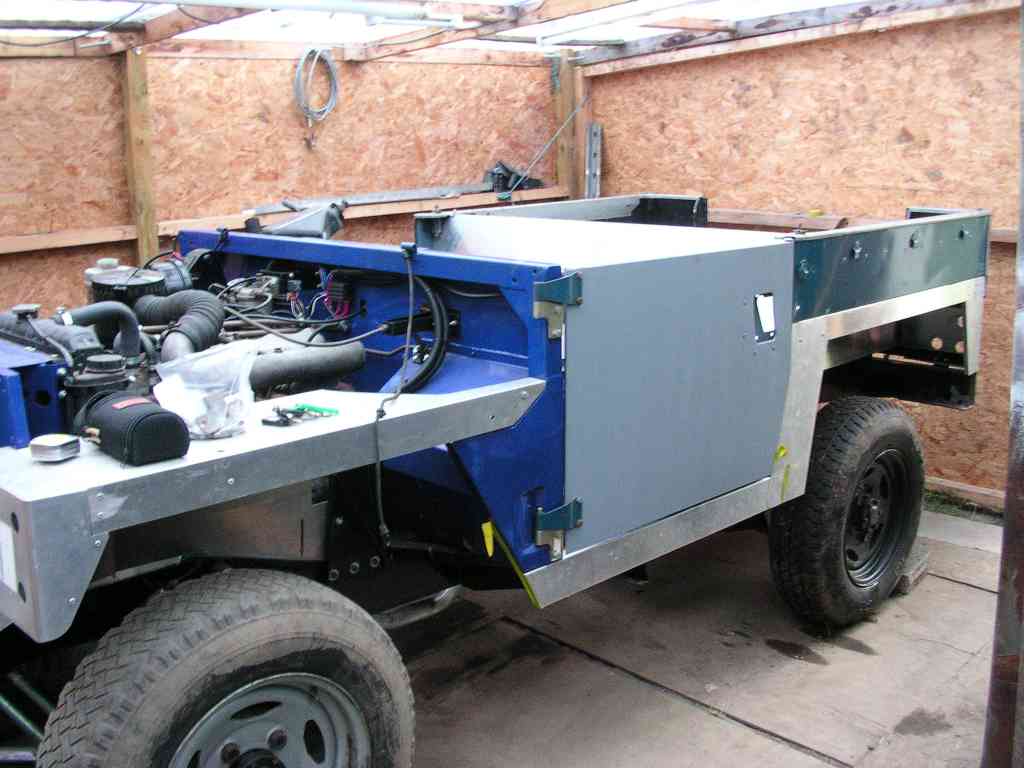
I've made up new door sills but these will eventually be replaced with some rock sliders.