Engine and gearbox mounts - RCV (£13)
Full Exhaust with fixings - John Craddock (£85)
Front and Rear Prop shafts - John Craddock (£93)
Radiator - John Craddock (£58)
Gunk Engine Degreaser - Wath Motor Spares (£10)
£259
Normal, Hydraulic engine hoist
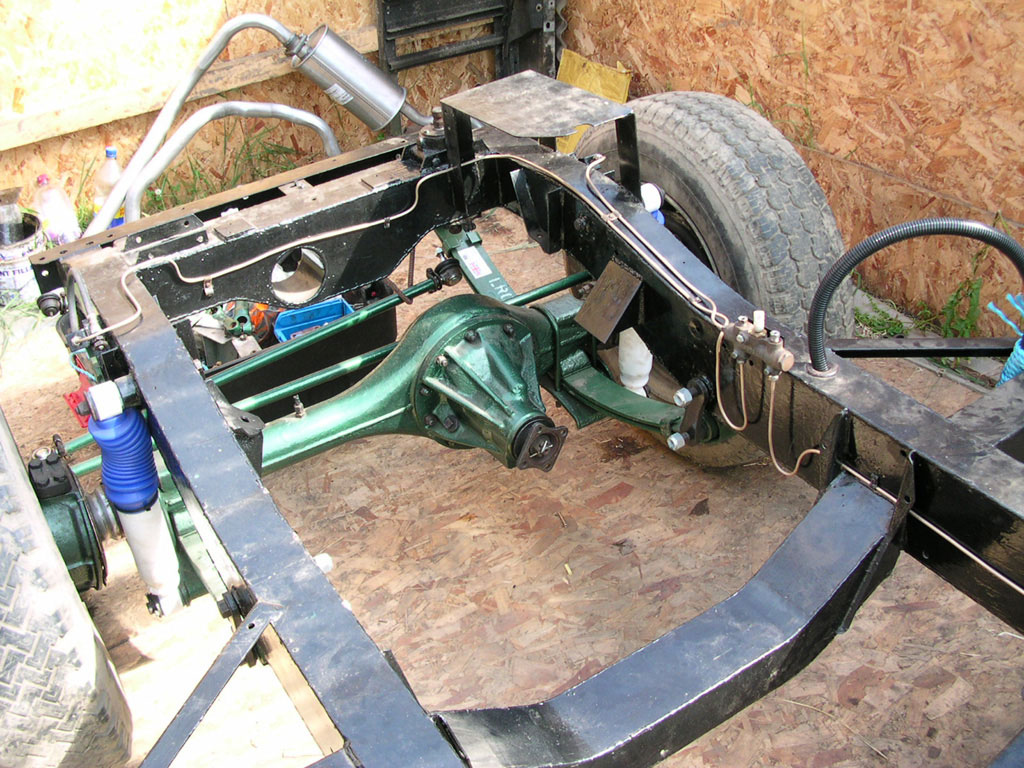
This was my original attempt at the front brake piping, which is different to the later picture above, I changed the route after finding the pipe work interfered with the position of the radiator.
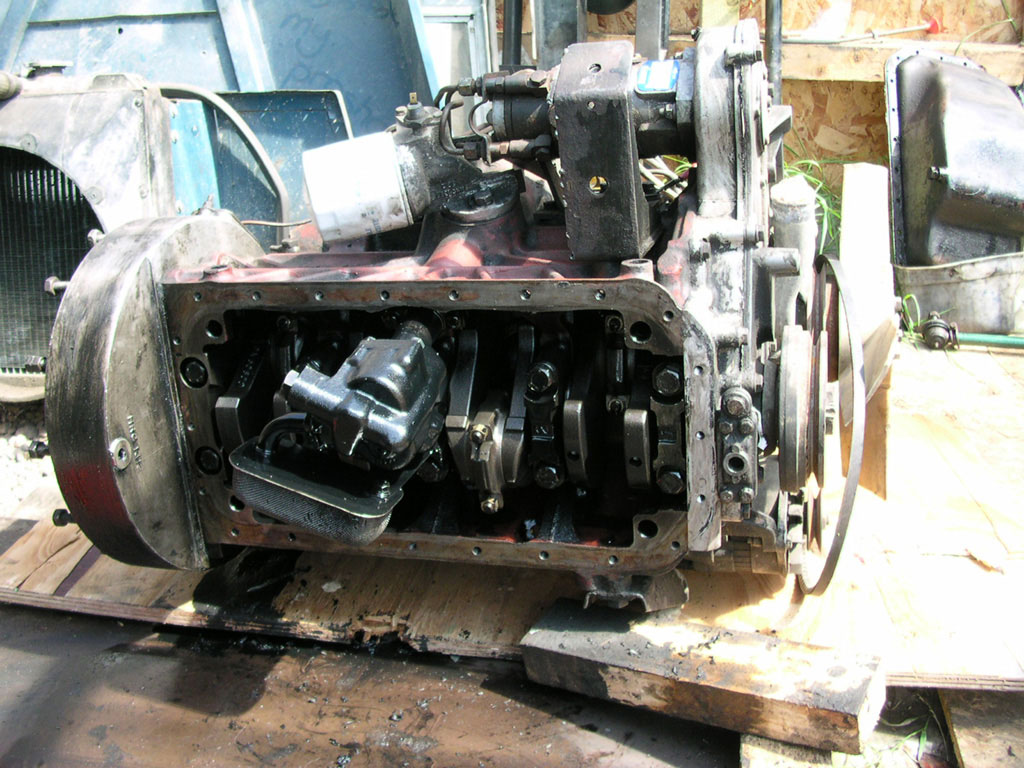
While I was working on the engine I cleaned out the sump, mesh filter and changed the sump gasket which had been leaking

With the engine sat on the front mounts and squared up as much as possible and a piece of timber in between the engine cross member and the rear of the engine for support it looks pretty well squared up.
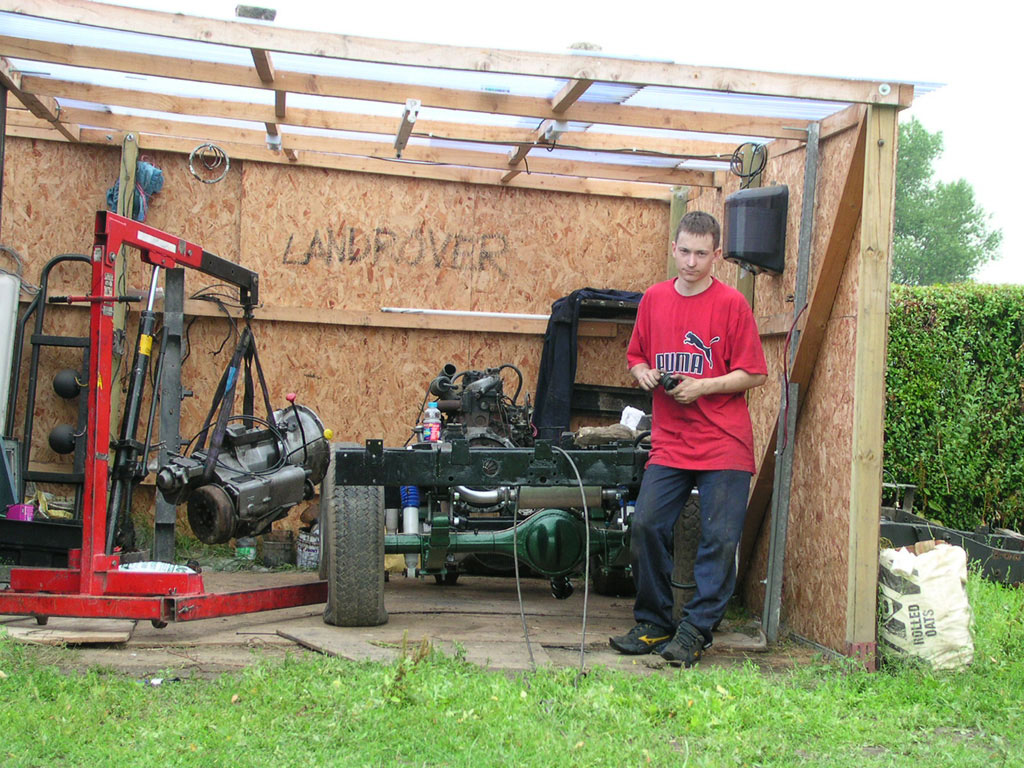
Although the gearbox was lighter than the engine I found it harder to install because of its shape and it kept over balancing in the sling
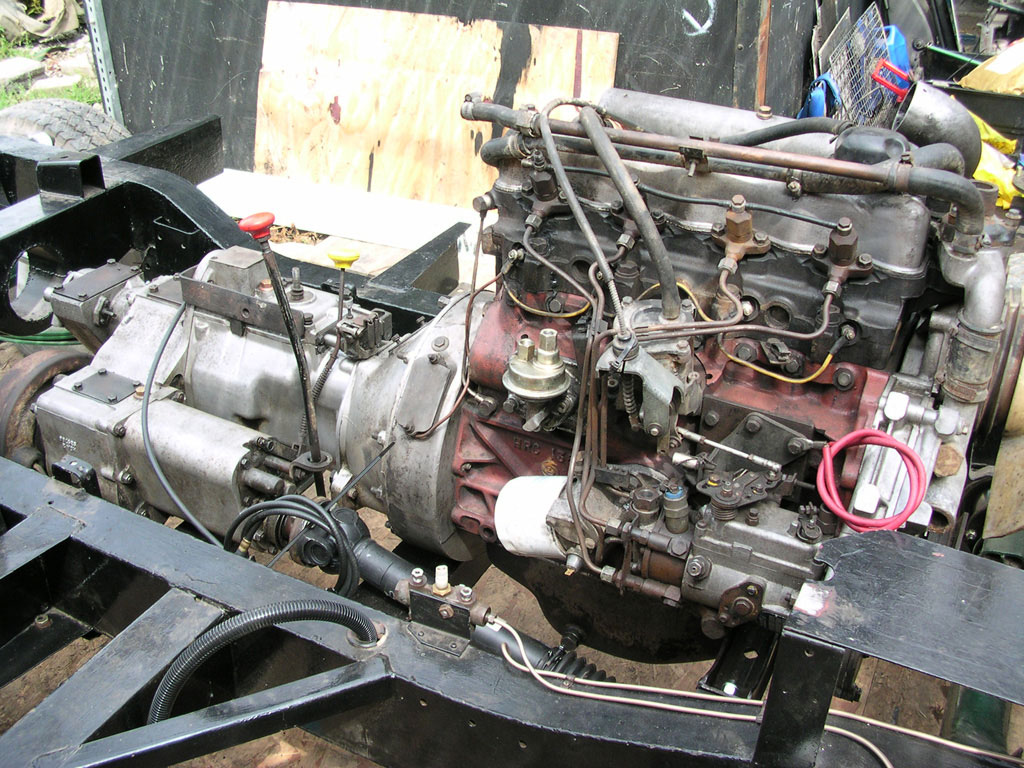
After linking the two components together the position of the engine was now too far over meaning the rubber gearbox mounts were being stretched.
A lot of pulling and tugging pursued before I has happy with the engine alignment. Part of the problem was the bracket that was fitted in between the engine and the new mount. When I removed this I found the mounting holes had been drilled off centre meaning the bracket was not sitting straight. Widening the mounting holes horizontally gave me enough movement to get the fitment right.

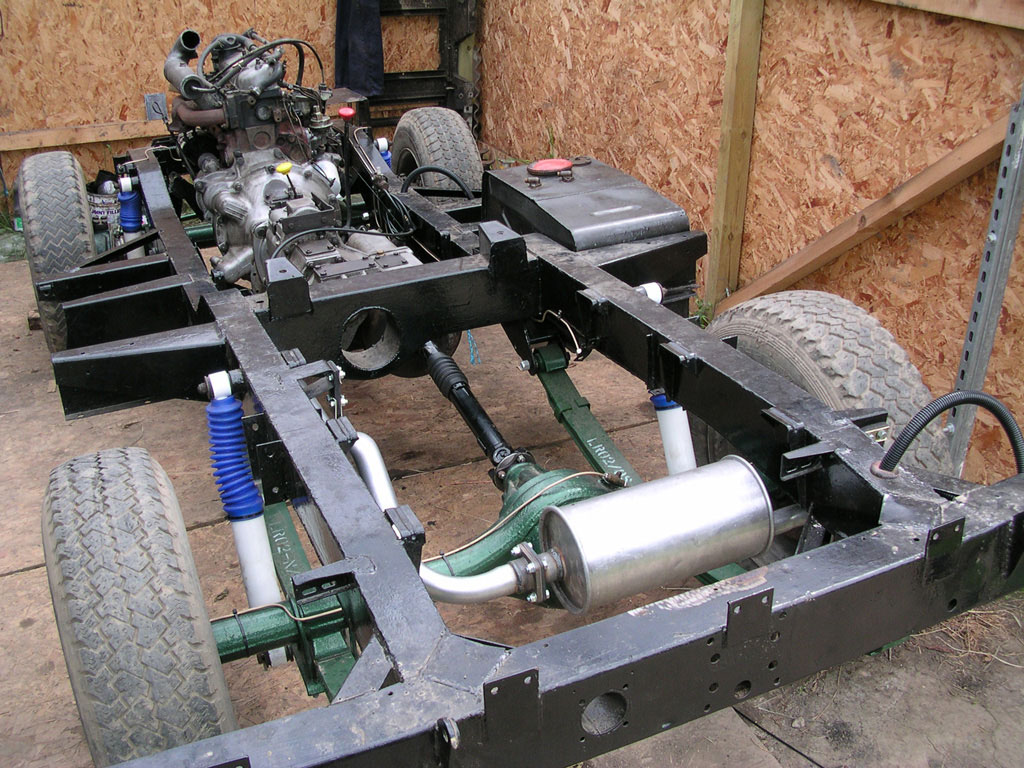
Also installed the new Front and rear props, as the splines and Universal Joints on both were worn.
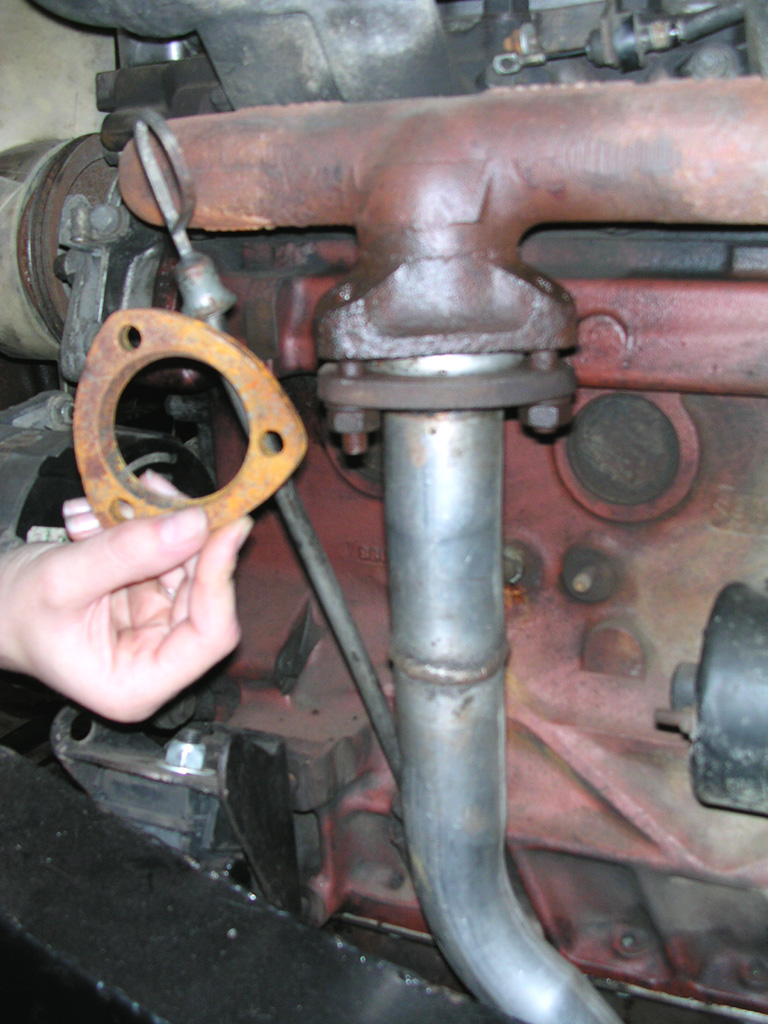
The middle and rear sections of the exhaust were also fitted . . .